Jira is a project management tool that assists software developers with bug tracking, agile project management, issue tracking, workflow, and much more.
The tool offers a time tracking feature that helps software developers track time when they work on tasks. Managers can then use the tracked time for real-time reports to understand better how their employees work.
In this article, we’ll discuss how to generate a Jira time tracking report. We’ll also discuss what the report consists of, its limitations, and how to integrate Time Doctor to curb those limitations.
Table of Contents
- 7 simple steps to generate a time tracking report
- What does a Jira time tracking report consist of?
- 3 limitations of using the Jira time tracking report
- Time Doctor: For accurate time tracking with Jira
- Additional Jira time tracking integrations
Not sure how to track time in Jira?
Check out this article on Jira time tracking.
Let’s go!
7 simple steps to generate a time tracking report
Jira’s time tracking reports are essential to understand how to manage time when team members work on issues, especially when a software development project can take weeks or even months.
Here are a few ways in which Jira’s time tracking reports can prove helpful:
- Gives an account of how much time was spent on a Jira issue, task, and project.
- Helps you create a timesheet and invoice for clients.
- Allows you to determine accurate time estimates for tasks based on previous work.
Now, let’s look at the steps to help you generate a Jira time tracking report.
Step 1
Head over to the project you’d like to track time for in your Jira dashboard.
Step 2
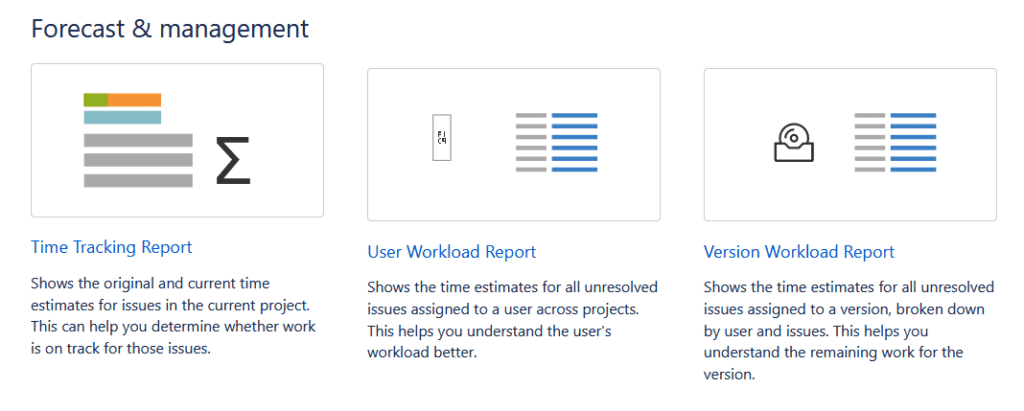
Select Reports in the sidebar and then Select Forecast & Management. Then click on the Time Tracking Report.
Step 3
Now, select the time tracking settings as per which you’d like to configure your report:
- Fix version: Select which Jira issues you’d like a report for from the Fix Version drop-down. The issues that belong to the type of version you select will be included in the report.
- Sorting.
- Issues.
- Sub-task inclusion.
Step 4
In the Sorting drop-down, you can select the order in which the issues appear.
- Selecting Most Completed Issues First will display issues with the least estimated time remaining at the top.
- Selecting Least Completed Issues First will display issues with the most estimated time remaining at the top.
Step 5
Select the Issues you’d like to include in your report.
- Selecting All will include all issues for the selected version.
- Selecting Incomplete Issues Only will exclude all issues with an Estimated Time Remaining of zero (i.e., all your completed issues). It also excludes issues that do not have a time entry or have no Original Estimate. Also, the issue status doesn’t affect which issues are included in the report.
Step 6
Sub-Task Inclusion allows you to include which sub-tasks will be included in the report along with the parent issue for the selected version.
- Selecting Only Include Sub-Tasks With the Selected Version will allow you to include a sub-task only if its parent issue is part of the selected version.
- Selecting Also Include Sub-Tasks Without a Version Set will allow you to include sub-tasks only if they belong to the same version as the issue or if it belongs to no version.
- Selecting Include All Sub-Tasks will let you include all sub-tasks regardless of what version they may or may not belong to.
Note: You’ll have to enable sub-tasks to include them in the report.
Step 7
Finally, you need to click Next to generate your time tracking report.
Let’s check out what a Jira time tracking report looks like.
What does a Jira time tracking report consist of?
Before we continue, we need to know what the report looks like to better interpret the visual representations of the work time recorded.
Jira has two types of reports:
- A report with sub-tasks looks like this:
- A report without sub-tasks looks like this:
The four columns report are the time tracking fields.
Let’s understand what they are all about.
4 Time tracking fields
These four time tracking fields are primarily used in software development, and here’s what they record:
- Original estimate: The original time set to complete the issue, project, or task.
- Estimated time remaining: The amount of time that still needs to be tracked as part of the original estimate.
- Time spent: The time already spent working on the issue.
- Accuracy: The original estimate compared to the current estimate. In other words, this can be described as the difference between the estimate and the time spent.
- To better describe it, add the Time Spent and the estimated time remaining.
Note:
- For sub-tasks, the ∑ symbol on the right side of each column indicates the aggregate time for each parent Jira issue. Essentially, it is the sum of issue metrics and its sub-tasks metrics.
- The last line of the report indicates the total time tracking values for the whole version.
Within the report are visual representations of the time tracked across multiple projects.
Let’s take a look at what they mean.
How to interpret time tracking reports (with screenshots)
The report has two bar graphs in the top left corner: Progress and Accuracy, indicating how the employee is working.
The Progress bar indicates the total number of issues completed (represented by the color green) and the total number of incomplete issues (represented by the color orange).

The Accuracy bar has a blue color and shows the accuracy of the original estimate.
The length of the Accuracy bar compared to the Progress bar indicates how on schedule you are. There are three types of instances:
- If the Accuracy bar and the Progress bar are of the same length, then the issues are on schedule with the original estimate.

- If the Progress bar is longer than the Accuracy bar, issues are behind the original estimate, meaning it will take longer than initially estimated. Within the Accuracy bar, you’ll notice that the light blue region is the original estimated time and the light grey area represents the time you are behind.

- If the Accuracy bar is longer than the Progress bar, the issues are ahead of the original estimate. The light grey region in the Progress bar indicates the overestimated time when the original estimate was added.

This report can be used effectively for getting insights into your employees’ work habits. However, it lacks certain elements that can improve productivity even more.
3 limitations of using the Jira time tracking report
Jira’s time tracking report lacks certain key features that help time management and get employee work data.
Here are a few limitations to keep in mind:
- Jira can only generate reports that focus on how many hours they worked on issues. It cannot track other productivity aspects such as attendance and web and app usage.
- Jira doesn’t log time shorter than 60 seconds, leading to inaccuracies in the final report.
- It doesn’t support idle time tracking or monitoring web usage to manage employee hours better.
Fortunately, managers can address these limitations by integrating a dedicated time tracking tool like Time Doctor to generate more insightful reports.
Time Doctor: For accurate time tracking with Jira
Before we discuss integrating the Jira and Time Doctor app, let’s briefly explore Time Doctor and its features.
What’s Time Doctor?
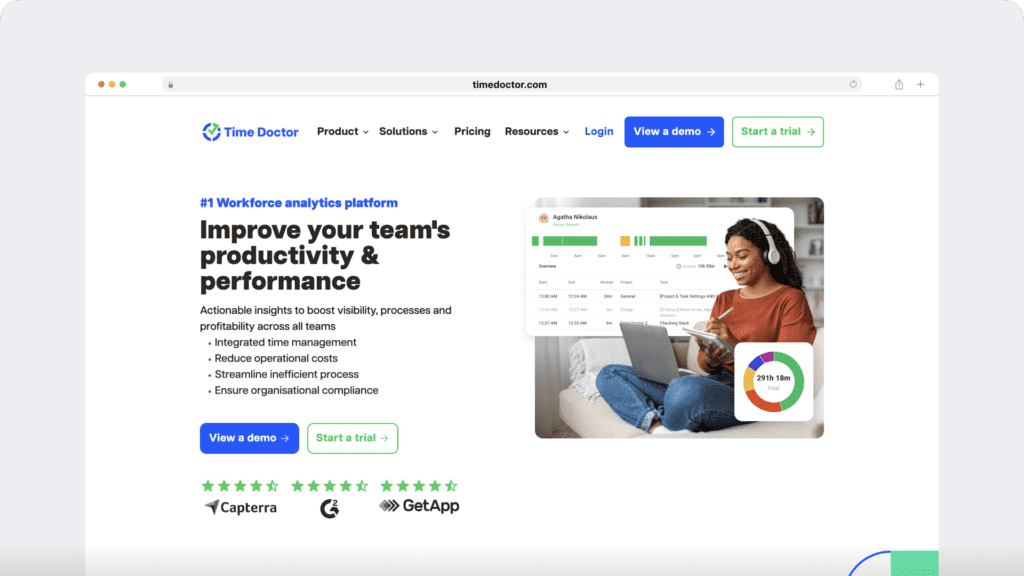
Time Doctor is a robust employee performance management and time tracking tool used by major companies like Verizon and Ericsson. It also caters to small businesses, like Thrive Market. The tool can help you with performance analysis and boost productivity throughout.
Time Doctor hosts a range of features that can give you better insights into the team’s performance.
You can:
- Generate various reports for hours worked, attendance, project time consumption, etc and customize them to specific time ranges.
- Track time automatically or manually with time tracking.
- Assign productivity ratings to websites and apps as productive or unproductive.
- Mark employees as present, late, absent, and partially absent with the attendance report.
- Set up your team’s work schedules with shifts and schedules.
- Make batch payments to employees through payroll management features.
- Add your employees to tasks they can log work for with tasks and projects.
- Remind users to get back on track with idle time pop-ups.
Note: Time Doctor is not a keylogger. The app only checks if the user has clicked the mouse or any key. It does not record details of the activity to protect user privacy.
With these features, managers will have more insights into their employees’ productivity.
But how does Time Doctor work with Jira?
Let’s find out.
How to integrate Time Doctor and Jira
Managers can generate Time Doctor reports with time tracked in a Jira task when you sync the Time Doctor Chrome extension with the desktop app.
Here’s how to integrate Time Doctor and Jira.
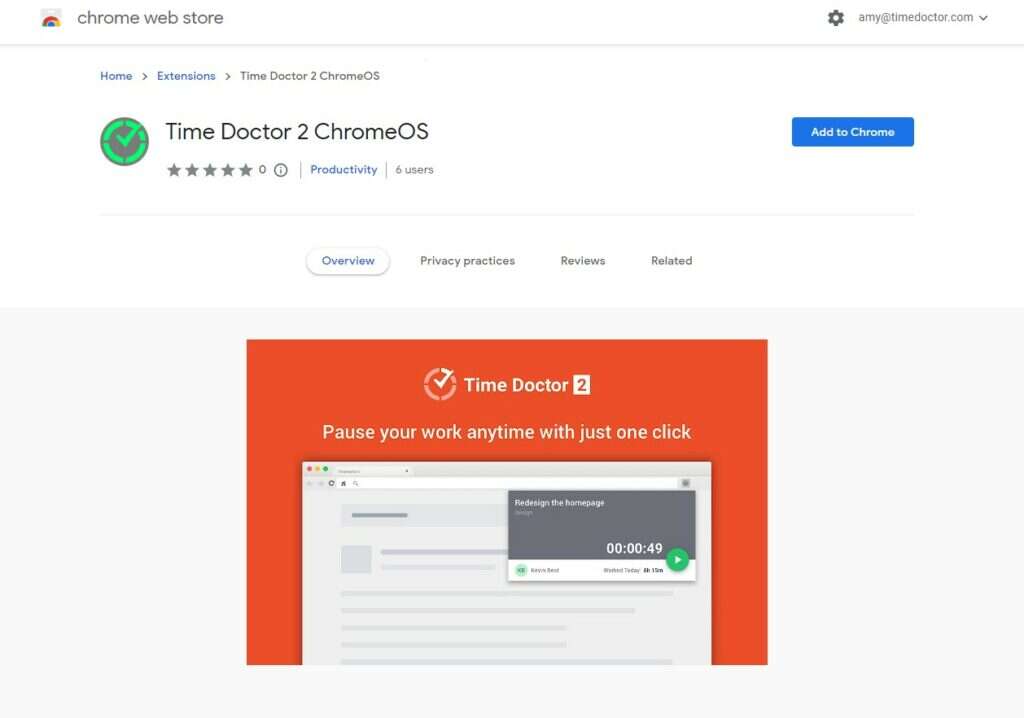
1. Install Chrome extension
The first step is to download the Chrome extension. After you’ve enabled integrations, your employees will receive a notification on how to add it to their browser.
2. Enable Time Doctor integration
The next thing you’ll need to do is enable the Time Doctor Chrome extension. To do so, managers with admin permissions need to head over to Settings/Integrations in the Time Doctor dashboard and enable it.
Doing so will enable all Chrome extensions, including Jira. You can also select which users you’d like to enable this for.
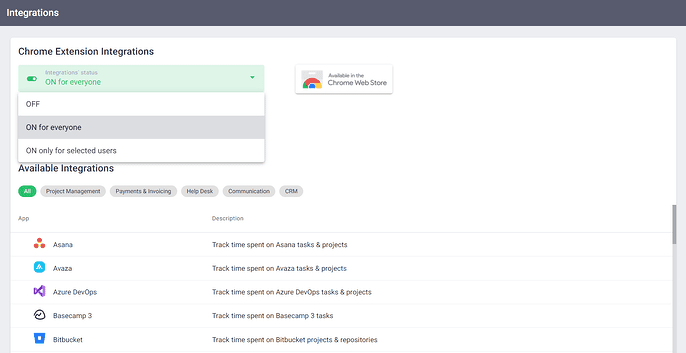
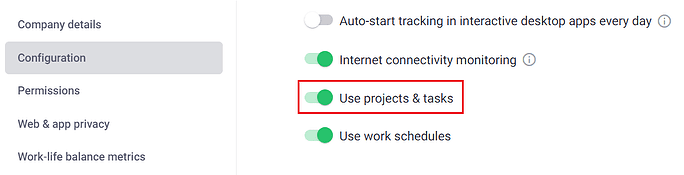
Note: If you do not see the Settings/Integrations even though you are an admin or owner, it may be because tracking time for a project and task is disabled for your business. You can enable it in Settings/Company settings by activating Use projects & tasks.
3. Track time through Time Doctor
With the Chrome extension installed, you can now track time for your Jira task through Time Doctor. Simply click on the start button in the Jira issue, and you’ll be tracking time from your Jira window.
4. View Time Doctor reports for time tracked in Jira
The Chrome extension will send the tracked time back to Jira every five minutes so that you can compare the worklog data on both Time Doctor and Jira.

Wondering how such reports can help boost team productivity?
Read this article on how to use productivity reports to measure performance.
Let’s take a look at some more useful integrations for Jira.
Additional Jira time tracking integrations
The Atlassian Marketplace offers several add-ons and plug-ins for Jira that can further improve its time tracking functionality. These add-ons integrate into Jira dashboards.
- Tempo timesheet: Allows managers to create a timesheet report, track time, approve timesheets in bulk, and manage project roles. It includes Tempo Reports which works with your Tempo accounts and time tracker.
- Pivot gadget: Allows advanced reporting with business intelligence capabilities discreetly within your Jira Instance.
- Work time calendar: Plan and track time for tasks in your Jira workspace from a calendar perspective. Includes a stop/start interface, and you can create and export timesheets into Excel.
- Time reports: A Jira Project generates a time report.
- Custom charts: Create clear visual custom reports in chart forms. Also, access features such as advanced JQL search. Available on the Jira Cloud, Jira Server, and Data Center.
Additionally, Jira Service Management and Confluence can further help you improve overall project management and collaboration.
Wrapping up
As a project management tool, Jira offers a detailed time tracking report that can allow a project manager to calculate billable hours and generate accurate payroll.
The report is easy to grasp and indicates the work progress in a visually stimulating manner.
However, Jira has some drawbacks in its accuracy and report generation as good as it is. Instead, you can balance project management on Jira with accurate and easy time tracking on Time Doctor with its Jira integration.
Managers can use Time Doctor’s advanced features to generate more in-depth reports and use the time tracking software to analyze employee performance and effectively track time.
So why not sign up for Time Doctor’s free 14-day trial and boost productivity today?