Want to learn how to use Skype for Business?
The current global pandemic has forced many businesses to go remote — but that comes with tons of communication challenges!
Luckily, Microsoft’s Skype for Business is a popular video conferencing tool that can help you overcome that. But if you don’t know how to use it properly, your communication issues are only going to get worse.
Don’t worry!
This article is a step-by-step guide on how to use Skype for Business the right way.
However, as Microsoft will be replacing Skype for Business with Microsoft Teams, support for Skype for Business will end by 2025. Additionally, new Office 365 users can’t download Skype for Business anymore — they should download Teams instead.
To help you with this transition, we’ll briefly cover how to get started with Teams as well.
This article contains:
(Click on the links below to jump to a specific section)
How is Skype for Business different from Skype?
How to use Skype for Business (Step-by-Step Guide)
- How to get started with Skype for Business
- How to use it for video conferencing
- How to schedule meetings
- How to make audio or video calls
- How to share your screen during video calls
- How to use Skype for Business for instant messaging
How to transition to Microsoft Teams
Let’s get started.
What is Skype for Business?
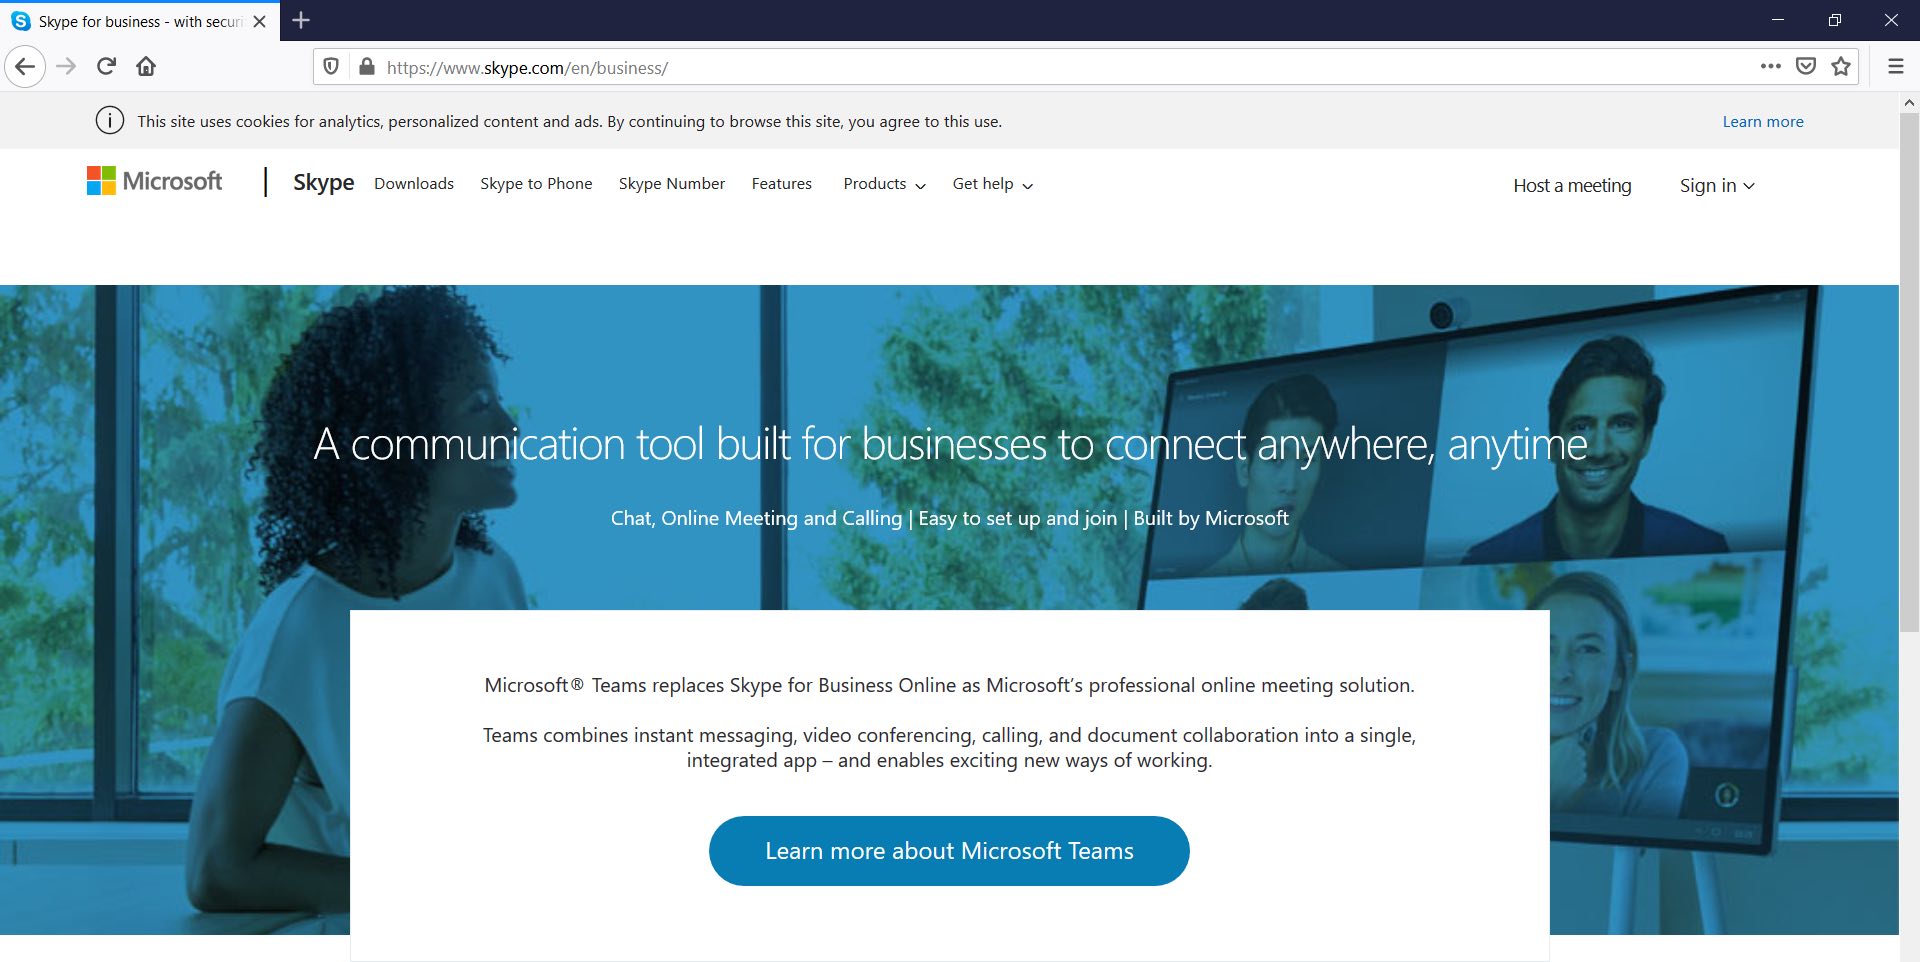
Skype for Business (previously known as Microsoft Lync) is a popular communication platform developed by Microsoft. It supports remote communication through various channels like text, audio and video chat.
Key features of Skype for Business include:
- Instant messaging
- HD video conferencing
- Voice calls
- Call recording
- File sharing
- Whiteboard collaboration
- Broadcasting online meetings
How is Skype for Business different from Skype?
Skype for Business and Skype are both used for virtual communication.
So how are they different from each other?
Here’s how:
- Skype: Meant for small businesses (~20 people). It’s free to use, but if you want services like mobile or landline calls, then you would have to go for the paid plans.
- Skype for Business: Meant for larger businesses (~250 people). It offers enterprise-level security, account management and integrates with other Office 365 applications like Microsoft Outlook, PowerPoint, SharePoint, etc.
How to use Skype for Business [step-by-step guide]
As Microsoft Teams is replacing Skype for Business, new Office 365 users can no longer download Skype for Business.
This section is only meant for those who have already downloaded Skype for Business as a virtual communication tool.
Skype for Business has two versions:
Skype for Business Server
An on-premise application used by highly regulated large organizations. It requires specialized hardware and dedicated IT support and maintenance.
Skype for Business Online
A cloud-based application that can be accessed by users anytime, anywhere! There are no additional hardware or maintenance costs here.
As COVID-19 quarantines have forced most teams to work remotely, we’ll focus on how to use Skype for Business Online.
This step-by-step guide covers how to:
- Get started with Skype for Business
- Use it for video conferencing
- Use it for scheduling meetings
- Use it for audio or video calling
- Use it for screen sharing
- Use it for instant messaging
A. How to get started with Skype for Business
Here’s a step-by-step guide to help you get started with some basic features of Skype for Business:
1. How to set a presence status in Skype for Business
Setting an availability status makes it easier for team members and business clients to communicate efficiently.
Skype for Business lets you display your availability (or presence) with various statuses like Available, Busy, Away, etc.
Here’s how you can add or edit these:
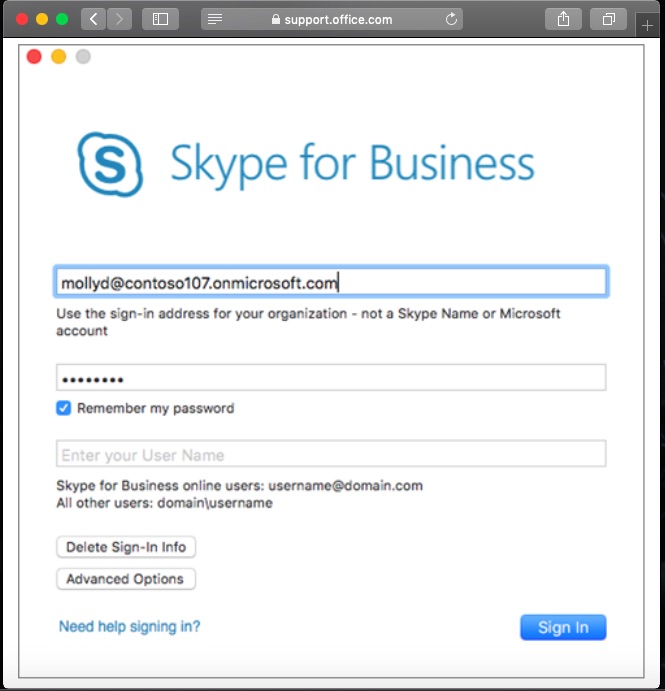
Step 1: Sign in to your Skype for Business account.
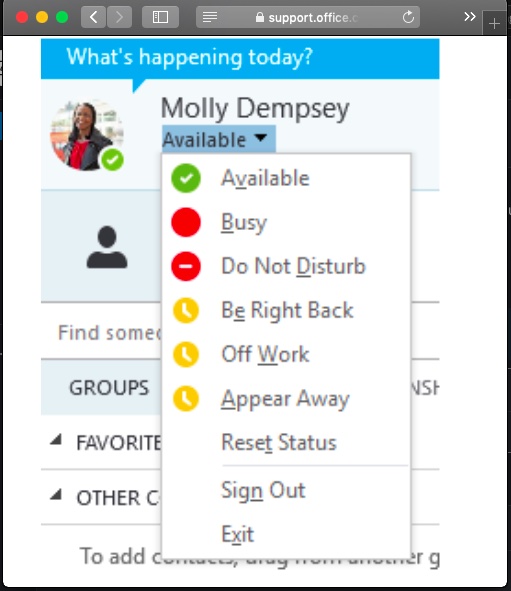
Step 2: In the new window that appears, click on the drop-down arrow in the status menu under your name.
Here, you can choose from a list of status options, like:
- Available: online and active.
- Busy: shouldn’t be interrupted.
- Away: logged on, but away from the computer for a long time.
- And more!
You can also use “Reset Status” for Skype to automatically set your presence status based on your app activity. (On Mac, use the “Automatic” option instead.)
As Skype for Business Online integrates with your Microsoft Outlook account, you can even check your colleagues’ presence statuses or edit your own status via email.
Note: If there’s no keyboard or mouse activity for over 5 minutes, then your status automatically changes to “Inactive”.
2. How to set up contacts in Skype for Business
Skype for Business lets you add people to your contact list from within and outside your organization.
Here’s how to add contacts on Skype for Business:
Step 1: Click on the “Add a contact” icon to access various options to add contacts. The “Create New Group” option lets you create groups that you can add your contacts to.
Step 2: To add people, type their name into the search box in the main Skype for Business window.

Step 3: Right-click on their picture, select “Add to Contacts List” and choose the right contact group.
Now you’re all set to communicate with your contact list!
B. How to use Skype for Business for video conferencing
Skype for Business’ video conferencing features combat the lack of face-to-face interaction when working remotely.
But video calls aren’t all you can do.
Skype for Business users can share their screen with attendees during a call or even conduct a webinar easily.
Here are the steps to start a video conference in Skype for Business:
Step 1: Launch your Skype for Business application and set your presence status to Available.
Step 2: Go to the “Meetings” tab and click on the “Meet Now” option.
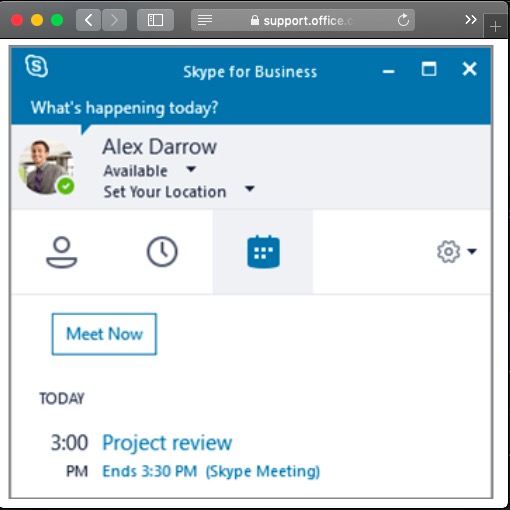
Step 3: The meeting screen will immediately appear as a pop-up. Here, you can add participants by clicking on the “Invite” button at the top right corner.
C. How to schedule a Skype for Business meeting
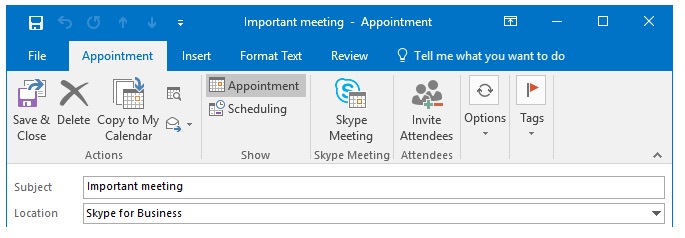
As Skype for Business Online works with Microsoft Outlook, you can follow these steps to schedule a meeting quickly:
Step 1: Open Microsoft Outlook.
Step 2: Go to the “Appointments” tab.
Step 3: Click “Skype Meeting”.
This will add the call info to the meeting invite.
Fill in the required meeting details and hit “Send.”
The recipients will receive Outlook calendar reminders and a “Join Meeting” pop up when the meeting is about to start. Simply click on it to join the conference call!
D. How to make audio or video calls
Here’s how to make audio or video calls to someone via Skype for Business:
Step 1: To make a call, find the person in your contact list and click the “Audio” or the “Video” icon.
Step 2: When you receive a call on Skype for Business, a pop up offering various call settings appears.
These include:
- Mute (Microphone icon): Your microphone is muted.
- Video on/off (Camera icon): Click on this to turn your webcam on or off.
- Options (three dots): A list of additional options appear:
- Conduct an audio call only.
- Respond with an instant message only.
- Set your status to “Do not disturb” and reject the incoming call.
E. How to share your screen during Skype for Business calls
Let’s say you need to discuss that PowerPoint presentation you made last night with another individual. Or maybe show someone how to perform a specific task.
How do you do that virtually?
As a presenter, you can easily share your screen via Skype for Business for this.
Here’s a closer look at how:
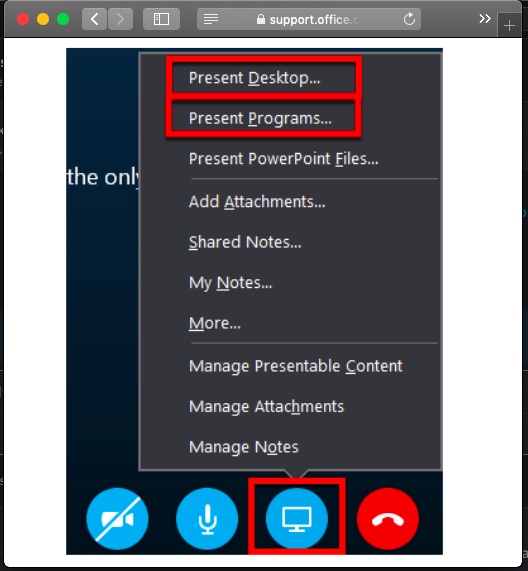
Step 1: Click on the “Present” icon (shaped like a monitor) in the meeting window.
This will open a pop-up, giving you several options to share your screen:
- Present Desktop: Share your entire screen.
- Present Programs: Share an open Word or Excel file.
Step 2: When you share your screen, the “Now Presenting” tab will appear on your device.
Additionally, your presence status will auto-change to “Presentation” to restrict other Skype users’ alerts.
Step 3: Each participant will receive a request to accept your shared screen/content.
If you want another attendee to demonstrate something, you can give them control over the sharing session by clicking “Give Control”. You can click on “Take back control” to revoke these access rights anytime you want.
Step 4: Use “Stop Presenting” to stop sharing your screen.
F. How to use Skype for Business for instant messaging
Skype for Business lets you communicate with your contacts list in real-time via instant messaging (IM). This is faster than a phone call and less formal than an email.
Here’s how to do this:
Step 1: Hover over the contact you want to start IM with and click the “Message” icon (shown below). Their chat box will appear, where you can start a real-time conversation instantly.

Step 2: When someone starts an IM conversation with you, a pop up appears on your screen.
To respond, click on their photo and type in your message.
To reject the message, click “Ignore.”
Step 4: You can add more people to your IM conversation window by dragging their contact picture into your IM conversation. Alternatively, click the “Invite More People” button at the top of the window to do this.
Step 5: To send an IM to all the contacts in a group, right-click on the group in your contact list and click on “Send an Instant Message” to deliver the message to all group members.
How to transition to Microsoft Teams
Whether you’re using Skype for Business or not, it’s best to switch to Microsoft Teams as early as possible.
This way, you won’t face any difficulties when Skype for Business is rolled back!
To help you out, we’ll briefly cover how to get started with Microsoft Teams.
Note: You can check out our extensive guide on Microsoft Teams for more information.
A. What is Microsoft Teams?
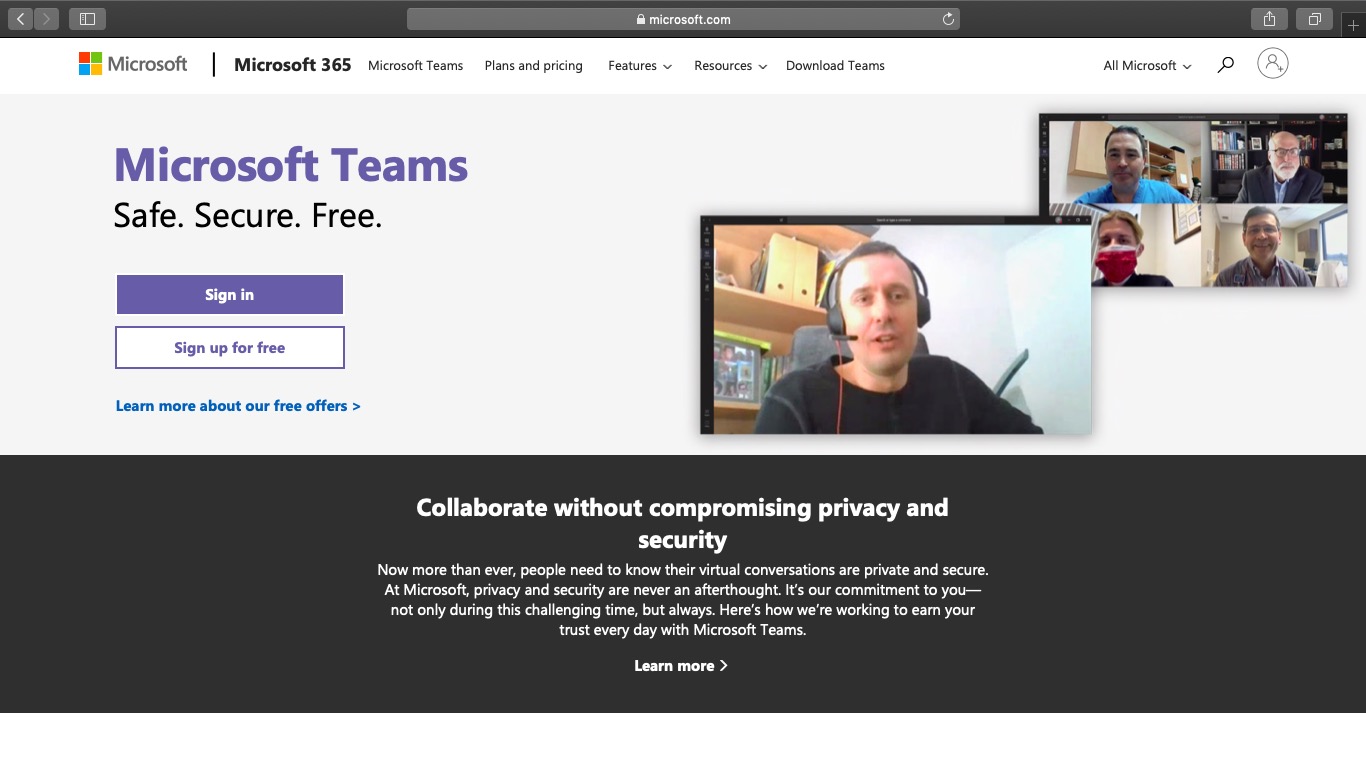
Microsoft Teams is an online communication platform that’s part of the Microsoft Office 365 suite.
Meant for larger businesses (>250 people), it lets you host large audio or video conferences with individuals within or outside your company.
Key features of Microsoft Teams:
- Centralised hub for all Office 365 applications
- Enhanced security and compliance
- File creation, sharing and editing within the application
- Can be accessed easily via desktop, a mobile device or web browser
- Audio and video calls (with VoIP support)
- Instant messaging (IM)
B. How to get started with Microsoft Teams? [step-by-step guide]
Follow this step-by-step guide to get started with Microsoft Teams:
1. Create an account
A) For desktop
Step 1: Visit the Microsoft Teams web page and click on “Sign in.”
Step 2: Click the “Create one!” tab on the new “Sign in” page.
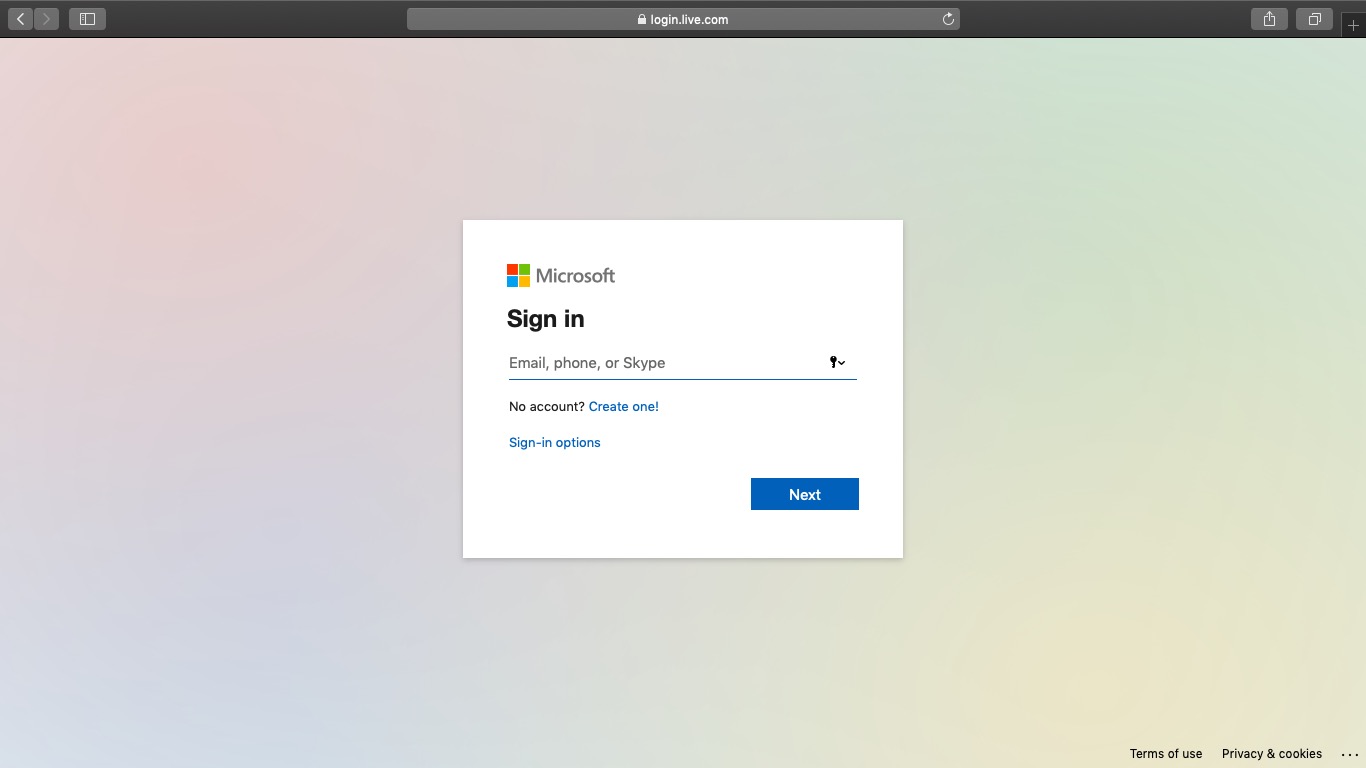
Step 3: Type your work email address into the “Create account” window and click on “Next.”
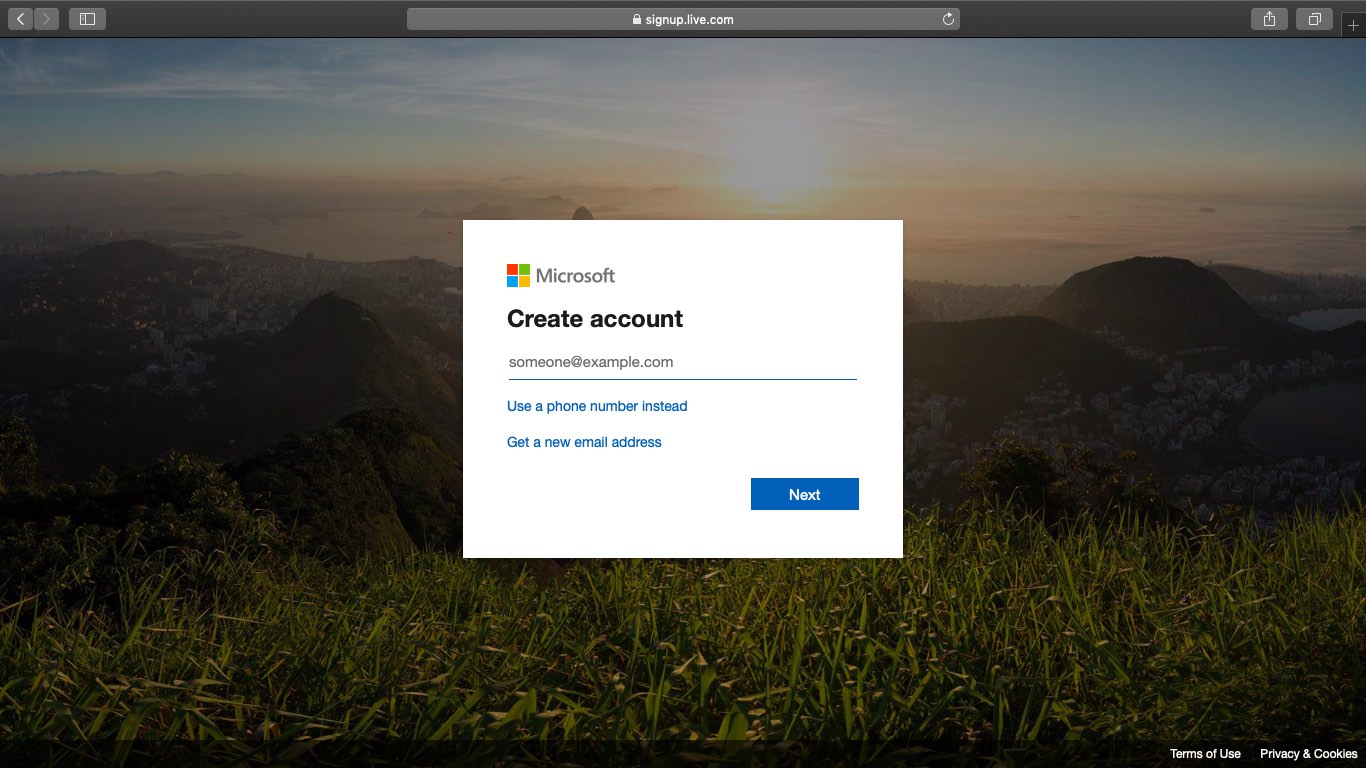
Step 4: Create your password and then enter the required details on the pages that follow.
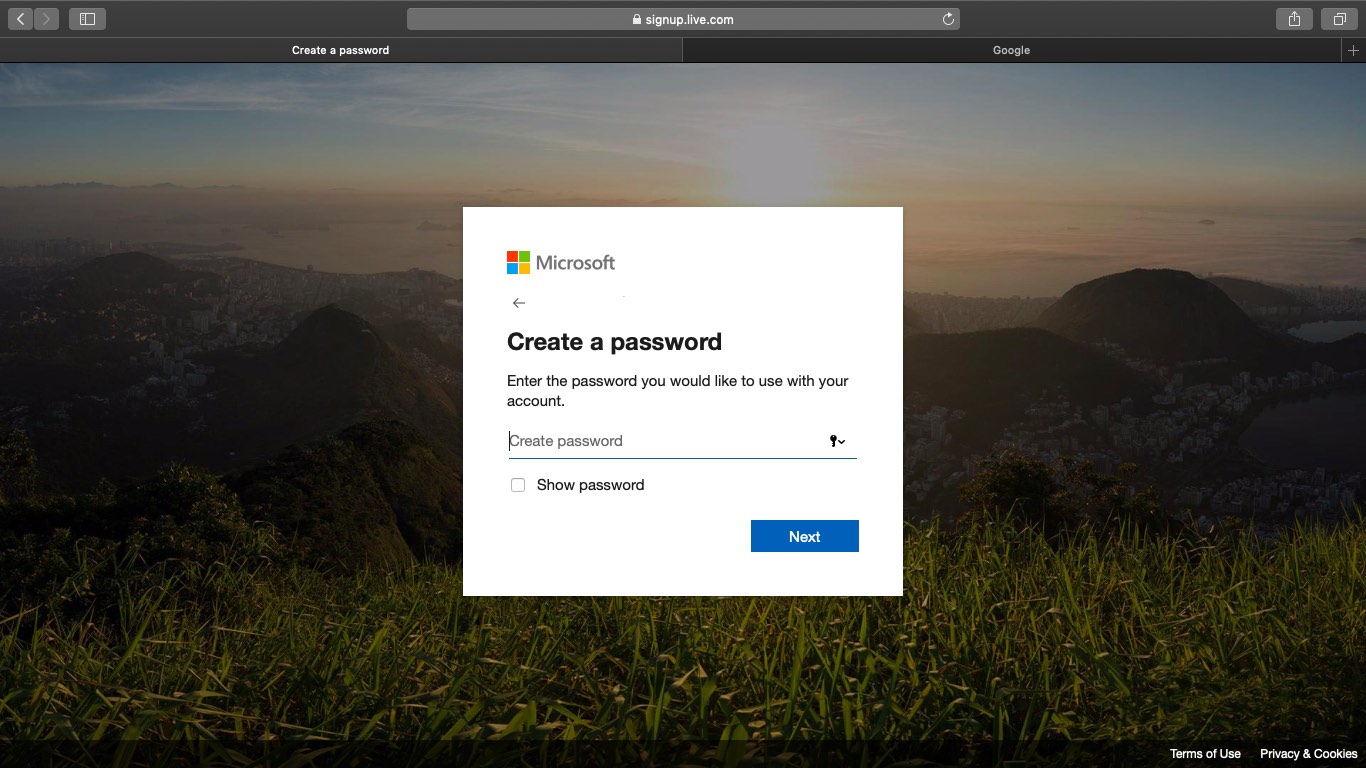
After creating your account and verifying your email, you can start using Microsoft Teams via its homepage.
B) For mobile
Follow the steps above to create your Microsoft account via mobile phone.
2. Download the Microsoft Teams app
A) For desktop
Step 1: Visit the Microsoft Teams homepage and click on “Download Teams.”

Step 2: Click on “Download for Desktop.”
Based on your operating system, you will get a download link for either Mac or Windows.
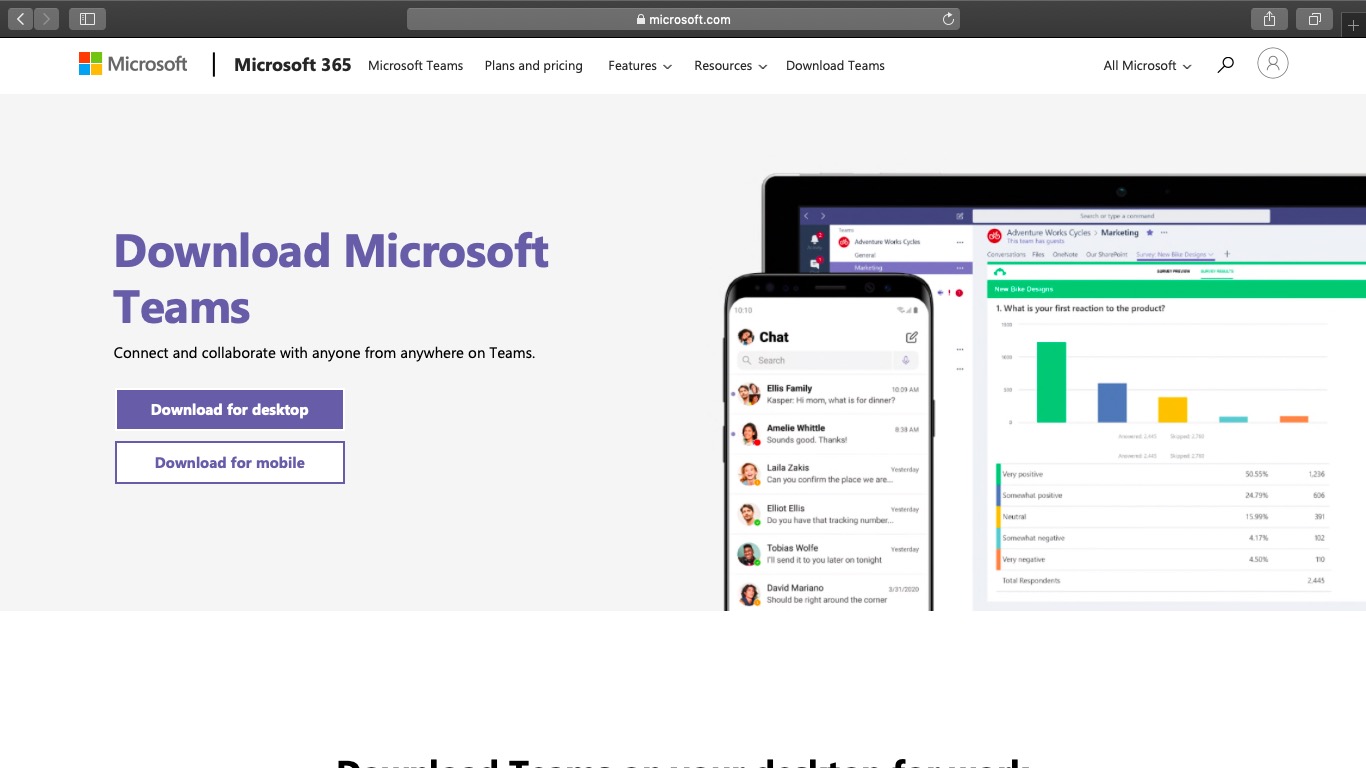
Step 3: Once downloaded, follow the on-screen instructions to install Microsoft Teams.
B) Mobile version
Step 1: Based on your phone, you can download the Microsoft Teams app from the Google Play Store for Android or the iOS App Store for Apple.
Step 2: After installing the app, log in to Teams via your Microsoft account.
C. Microsoft Teams pricing
Microsoft Teams offers four different plans that you can choose from as per your business needs:
1. Microsoft Teams (Free)
Offers features like instant messaging, audio and video call, file sharing and file storage.
2. Microsoft 365 Business Basic: $5/user per month
Offers all “Free” features along with video conferencing (up to 250 people).
3. Microsoft 365 Business Standard: $12.50/user per month
Offers “Microsoft Teams Business Basic” features + desktop versions of Office apps like Excel, Word, etc.
4. Office 365 E3: $20/user per month
Includes “Business Standard” features + unlimited file storage per user on OneDrive + enterprise-level video service to hold video conferences across the organization for $20.00 user/month.
Conclusion
With COVID-19 disrupting businesses everywhere, having a remote communication tool is now more essential than ever.
And while Microsoft Skype for Business is a good option to collaborate with your co-workers, it doesn’t look like it’s going to be there for the long run. Recently, Microsoft announced an end-of-life date to Skype for Business. That’s why it makes sense to switch to other platforms like Microsoft Teams or Zoom instead!


